
Dear readers, let me introduce you to an innovative technology that breathes life into virtual portraits—LivePortrait. This technology enables you to create realistic animations from just a single photo. What’s amazing is how efficient and user-friendly this tool is, making it accessible right at your fingertips. Curious? Let’s dive into this fascinating world together!
1. Getting Started with LivePortrait
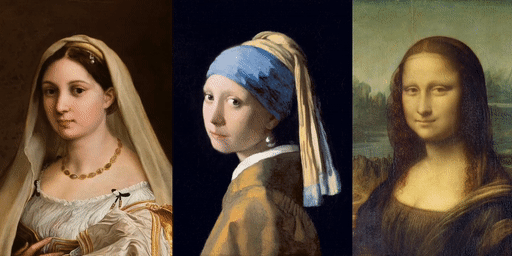
LivePortrait is a cutting-edge technology that animates virtual portraits. Its greatest strengths are efficiency and ease of use. With just a single photo, you can create an animation that feels like it’s alive.
The developers are continuously updating this project and welcome your feedback. If you encounter any issues or have suggestions for improvements, don’t hesitate to raise an issue or submit a pull request (PR). The developers are eager to hear from you.
2. How to Start
To use LivePortrait, a few steps are required. Here’s a simple guide to help you get started.
1. Clone the Code and Set Up the Environment
git clone https://github.com/KwaiVGI/LivePortrait

cd LivePortrait

conda create -n LivePortrait python=3.9

conda activate LivePortrait

# For Linux and Windows users
pip install -r requirements.txt

# For macOS users
pip install -r requirements_macOS.txt
2. Download Pretrained Weights
git lfs install

git clone https://huggingface.co/KwaiVGI/LivePortrait temp_pretrained_weights

mv temp_pretrained_weights/* pretrained_weights/

rm -rf temp_pretrained_weights
3. Generate Animation
# For Linux and Windows users
python inference.py

# For macOS users
PYTORCH_ENABLE_MPS_FALLBACK=1 python inference.py
If you’ve followed these steps, a magical animation file will be created on your computer. The result file will be saved as `animations/s6–d0_concat.mp4`, which includes the driving video, input image or video, and the generated result.
3. Creating Personalized Portrait Animations
Now it’s time to create your own animation using your photos or videos. You can use the following commands:
- When using a photo as the source: `python inference.py -s assets/examples/source/s9.jpg -d assets/examples/driving/d0.mp4`
- When using a video as the source: `python inference.py -s assets/examples/source/s13.mp4 -d assets/examples/driving/d0.mp4`
There are many other options available, so be sure to check them out using the `python inference.py -h` command.
4. Auto-Crop Function for Driving Videos
When using your driving video, you can leverage the auto-crop function. Try the following command:
python inference.py -s assets/examples/source/s9.jpg -d assets/examples/driving/d13.mp4 --flag_crop_driving_videoIf you’re not satisfied with the auto-crop results, you can adjust the options `–scale_crop_driving_video`, `–vy_ratio_crop_driving_video`, or crop manually.
5. Using the Gradio Interface for Easy Use
To enhance the user experience, LivePortrait also offers a Gradio interface. Run the following command to start:
# For Linux and Windows users
python app.py

# For macOS users
PYTORCH_ENABLE_MPS_FALLBACK=1 python app.py
This command will launch an intuitive interface that makes it easier for you to generate animations.
Conclusion
Now, it’s your turn to create a unique virtual portrait animation using LivePortrait. This technology is incredibly powerful and easy to use. Breathe life into your photos, share them with your friends, and enjoy the fun! Let your creativity shine!
References: github, LivePortrait